ARM Board Notes and Experiences
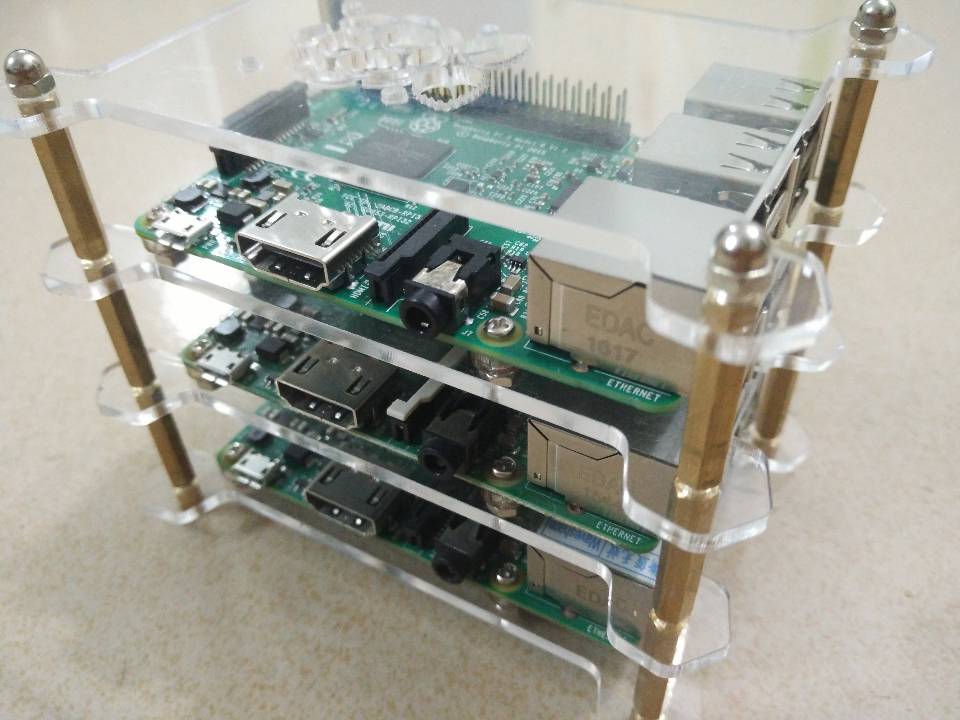
Raspberry Pi
I originally got into Raspberry Pi to set up a Docker cluster environment — mainly because they were cheap and power-efficient. Bought 3 Raspberry Pi 2 boards for around 600+ yuan. Back then, running Docker on ARM was still a novel concept.
I used Raspberry Pi to build a Docker cluster environment, following the Hypriot blog.
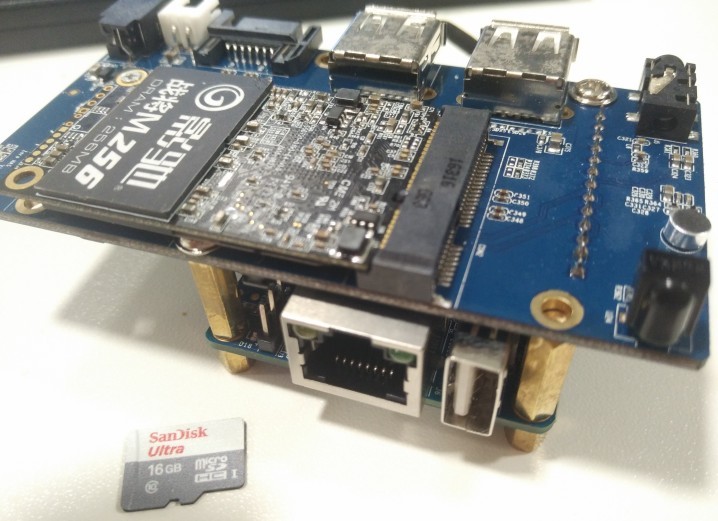
CubieBoard
Getting Docker running on ARM was a major challenge back then — official support was poor, community documentation was sparse, and it required a lot of trial and error.
Installing Docker
Option: Hypriot (as of March 2017, version docker 1.11.1). Suitable for users who want to quickly get started with Docker on ARM, with relatively complete documentation.
1$ apt-get install -y apt-transport-https- Add repository key
1$ wget -q https://packagecloud.io/gpg.key -O - | sudo apt-key add -- Add repository
1
2
$ echo 'deb https://packagecloud.io/Hypriot/Schatzkiste/debian/ jessie main' | sudo tee /etc/apt/sources.list.d/hypriot.list $ apt-get update- Install Hypriot
1
2
$ apt-get install -y docker-hypriot $ systemctl enable dockerOption: Dockerproject (follows official updates, as of March 2017, version 17.03-ce). Suitable for users who need the latest Docker features and long-term maintenance.
1
2
$ sudo apt-get update $ sudo apt-get install apt-transport-https ca-certificates- Add repository
1$ sudo apt-key adv --keyserver hkp://p80.pool.sks-keyservers.net:80 --recv-keys 58118E89F3A912897C070ADBF76221572C52609DUse the following command to add the APT source to source.list (replace
<REPO>with the corresponding value from “Table 1: dockerproject mapping” below):1$ echo "<REPO>" | sudo tee /etc/apt/sources.list.d/docker.list- Install Docker-Engine
1
2
$ apt-get update $ apt-get install -y docker-engine
Cubietruck (OS: armbian) Issues and Notes
External hard drive hanging issue and resolution: Reference: Arch hdparm
Values 1-127 permit spin-down, 128-254 do not and 255 disables advanced power management altogether (if the drive supports it).
Values 1 to 240 are in 5 second steps, values 241 to 251 are steps of 30 minutes,
see the table below.
Resolution:
1# hdparm -B 127 /dev/sdxFirewall/GFW bypass Used PogoPlug’s shadowsocks as an SS5 proxy, and used tsocks tool to update software.
Building Gogs with Docker: Used PogoPlug’s Dockerfile and build.sh from the official Git repository, adding proxy settings for deployment
1
2
export http_proxy=http://192.168.208.88:8118 export https_proxy=http://192.168.208.88:8118Modify the Dockerfile as follows:
1
2
3
4
5
6
RUN export http_proxy=http://192.168.208.88:8118 \ && export https_proxy=http://192.168.208.88:8118 \ && apk --no-cache --no-progress add curl \ && curl -x 192.168.208.88:8118 -L https://github.com/tianon/gosu/releases/download/1.9/gosu-armhf -o /usr/sbin/gosu \ && chmod +x /usr/sbin/gosu \ && apk --no-cache --no-progress add ca-certificates bash git linux-pam s6 openssh socat tzdata
PogoPlug
PogoPlug was actually a NAS box that was quite popular back in the day. It got phased out for various reasons, so I repurposed it as a proxy server — which is probably the origin of the “broken dog” nickname.
Install OpenWrt, deploy shadowsocks to provide SS5 proxy service
- Open Luci, navigate to “System” - “Software” - “Configuration” tab, then comment out the following line in settings:
1#option check_signature 1- Then add the software sources at the end:
1
2
src/gz openwrt_dist http://openwrt-dist.sourceforge.net/packages/OpenWrt/base/oxnas src/gz openwrt_dist_luci http://openwrt-dist.sourceforge.net/packages/OpenWrt/luci- Update sources and install shadowsocks
Provide NFS service This was mainly for sharing files with other devices at home, such as mounting shared storage for the Raspberry Pi cluster.
Orange Pi
Orange Pi Zero (OS: armbian) Issues and Notes:
- Used with the OrangePiNAS board, mainly for building a small home NAS to store documents and media files.
Orange Pi One (OS: dietpi) Issues and Notes:
- Default en_GB locale causes frequent errors. Changed to zh_CN. The specific symptom was garbled text in some command-line tools and system logs.
Nano Pi
Nano Pi Neo (OS: armbian) Issues and Notes: The standout feature of the Nano Pi Neo is its incredibly small size — about thumb-sized — making it suitable for embedding into other devices.
Nano Pi M3 (OS: Kali Linux) Issues and Notes:
Kali Linux provides official image downloads: Kali Linux ARM Images Download
Expand SD card: Kali images don’t automatically utilize the remaining SD card space, so manual expansion is required.
- Check the starting sector of the second partition, needed later
1cat /sys/block/mmcblk0/mmcblk0p2/start- Launch fdisk disk management tool
1fdisk /dev/mmcblk0- Delete partition
1Command (m for help): d- Delete the second partition
1Partition number (1,2, default 2): 2- Create a new partition
1Command (m for help): n- Create primary partition
1
2
3
4
Partition type p primary (1 primary, 0 extended, 3 free) e extended (container for logical partitions) Select (default p): p- Select partition 2
1Partition number (2-4, default 2): 2- Enter the starting sector of the second partition
1First sector (125001-31116287, default 126976): 125001Enter the last sector, press Enter directly to use all remaining space
Write the partition table
1Command (m for help): w- After rebooting, run the following command, otherwise the capacity will remain unchanged — resize the partition
1resize2fs /dev/mmcblk0p2- Expansion complete. Use
df -lhto verify the capacity has been expanded to the full available physical capacity of the SD card.
Appendix:
Table 1: dockerproject mapping
| OS Version | REPO |
|---|---|
| Precise 12.04 (LTS) | deb https://apt.dockerproject.org/repo ubuntu-precise main |
| Trusty 14.04 (LTS) | deb https://apt.dockerproject.org/repo ubuntu-trusty main |
| Xenial 16.06 (LTS) | deb https://apt.dockerproject.org/repo ubuntu-xenial main |
| Debian 7 Wheezy | deb https://apt.dockerproject.org/repo debian-wheezy main |
| Debian 8 Jessie | deb https://apt.dockerproject.org/repo debian-jessie main |
| Debian Stretch/Sid | deb https://apt.dockerproject.org/repo debian-stretch main |