Raspberry Pi Docker Cluster
Overview
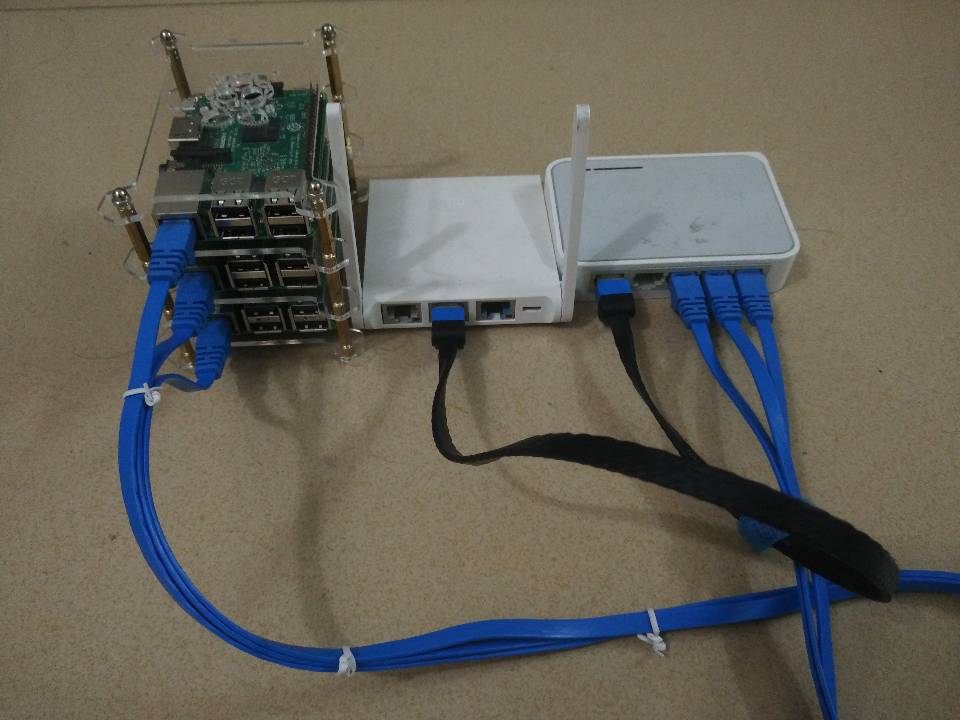
At the time, I was learning Docker cluster management and wanted a low-cost lab environment to experiment with, so I thought of using Raspberry Pis. Following the Hypriot blog, I bought one Raspberry Pi 2 board and two Raspberry Pi 3 boards. The reasoning was that the Pi 2 was cheaper so it would be the master, and the Pi 3s had better performance for worker nodes — together they made a small cluster.
The Pi 2 came with Hypriot installed by default. For the Pi 3 boards, if you’re interested, you can follow the article Building a 64bit Docker OS for the Raspberry Pi 3 to compile a 64-bit system yourself. You can also download the author’s pre-compiled image directly.
Hypriot was quite interesting at the time — it was a Docker OS specifically customized for ARM devices, with docker-ce built in, saving a lot of manual configuration hassle.
Network Issues
For daily upgrades or package installations, you’ll run into the GFW (Great Firewall) problem. To avoid frequent frustration with the firewall, it’s necessary to make adjustments to the router that controls the network egress. I followed Shadowsocks + ChnRoute for OpenWRT / LEDE Router Automatic Proxy to solve the firewall issue. Since this isn’t the focus of this article, specific details are omitted.
Compiling proxy software on ARM boards back then was really painful — the performance was just too weak.
Assign a static IP address to each ARM board on the router.
System
OS Details: Manually configuring three boards was tiring, so I found an ansible-playbook for automated deployment. Personal preferences for adjusting the environment, such as zsh, vim, etc., can be handled with an ansible-playbook or shell script to simplify things.
1
2
3
4
5
6
7
# Change default text editor to vim $ update-alternatives --config editor $ dpkg-reconfigure locales # Create a new user and add to the docker group $ usermod a -G docker xxx # This step is critical for the cluster - rename devices, otherwise joining the cluster will fail $ sed -i "s/black-pearl/node01-pearl/" /boot/device-init.yaml /etc/hostnameThe Hypriot image is the same for all boards, so the default hostname is black-pearl. Not changing the names makes cluster management very confusing.
Kubernetes (I originally wanted to use this for management, but my Pi 2’s Docker was the latest CE version, and kubeadm indicated it was not supported.) Refer to Setup Kubernetes on a Raspberry Pi Cluster easily the official way!
Add the repository:
1
2
$ curl -s https://packages.cloud.google.com/apt/doc/apt-key.gpg | apt-key add - $ echo "deb http://apt.kubernetes.io/ kubernetes-xenial main" > /etc/apt/sources.list.d/kubernetes.listInstall kubeadm
1$ apt-get update && apt-get install -y kubeadmInitialize the master node
1$ kubeadm init --pod-network-cidr 10.244.0.0/16Omitted…
Swarm (chose this one)
Initialize on Pi 2 (execute on the 2nd generation board)
1$ docker swarm initUse the obtained token information for each node to join
1
2
3
$ docker swarm join \ --token SWMTKN-1-5pm7otmn3vt9bmjhdfdk2hhgxp1zm9wfcyebl7x4dlkbbqujke-4fmuuxxxxxxxxxhiyqem \ 192.168.xx.2:2377Display node information:
1
2
3
4
5
$ docker node ls ID HOSTNAME STATUS AVAILABILITY MANAGER STATUS mbosd1usr6vfoj2p9zyw6zhau node01-pearl Ready Active sc4vtm5fqbdet8k4vrr38x1fo * master-pearl Ready Active Leader v8uxeq9pc8pzlciing7lol16e node02-pearl Ready ActiveSeeing all 3 nodes in Ready state was quite satisfying — it was my first time building a cluster from scratch.
Docker-Engine Installation
Using the docker-engine from MickeyZZC / MiAnsibleRules, refer to the following playbook:
| |
Docker-Container
- Refer to other rules from MickeyZZC / MiAnsibleRules.
- Each rule has variables that can be given vars values in your own ansible project.
I also maintained an Ansible rules library back then. Later, these clusters were mainly used to run lightweight services — it was my first complete containerization practice.